Stiletto nails are STUNNINGLY BEAUTIFUL and so easy to do, PLUS the supplies you need are right in your drawer. All you need is scissors and scotch tape.

For this particular color combination, I cut out triangles from the tape.

For the accent nail, I cut strips so the negative space was opposite. Here's another look at a stiletto mani I did using only strips.
My base color is Sally Hansen Complete Manicure Golden Rule. It has a clear base and can leave some bald spots, so I knew I wanted to have this as my base so the black wouldn't peek through. I used two coats for full coverage and then one coat of Seche Vite. This ensures the polish is dry AND that the tape with not pull up the polish.
The hard part here is putting the tape on evenly and centered. I try not to go too crazy. Imperfections show that you did it yourself and that they're not nail stickers. :)

I like to put ALL the tape on first so I don't mess up any wet polish. Make sure the tape is nice and tight up against the cuticle so the polish doesn't seep in. After all the tape is applied it's time for the second color.
I used two coats of OPI Black Onyx, the BEST black!! I find that it's best to pull the tape off while the polish is wet. I work one hand at a time. Apply one coat, then while applying the second coat pull off the tape carefully. You should have nice neat lines!
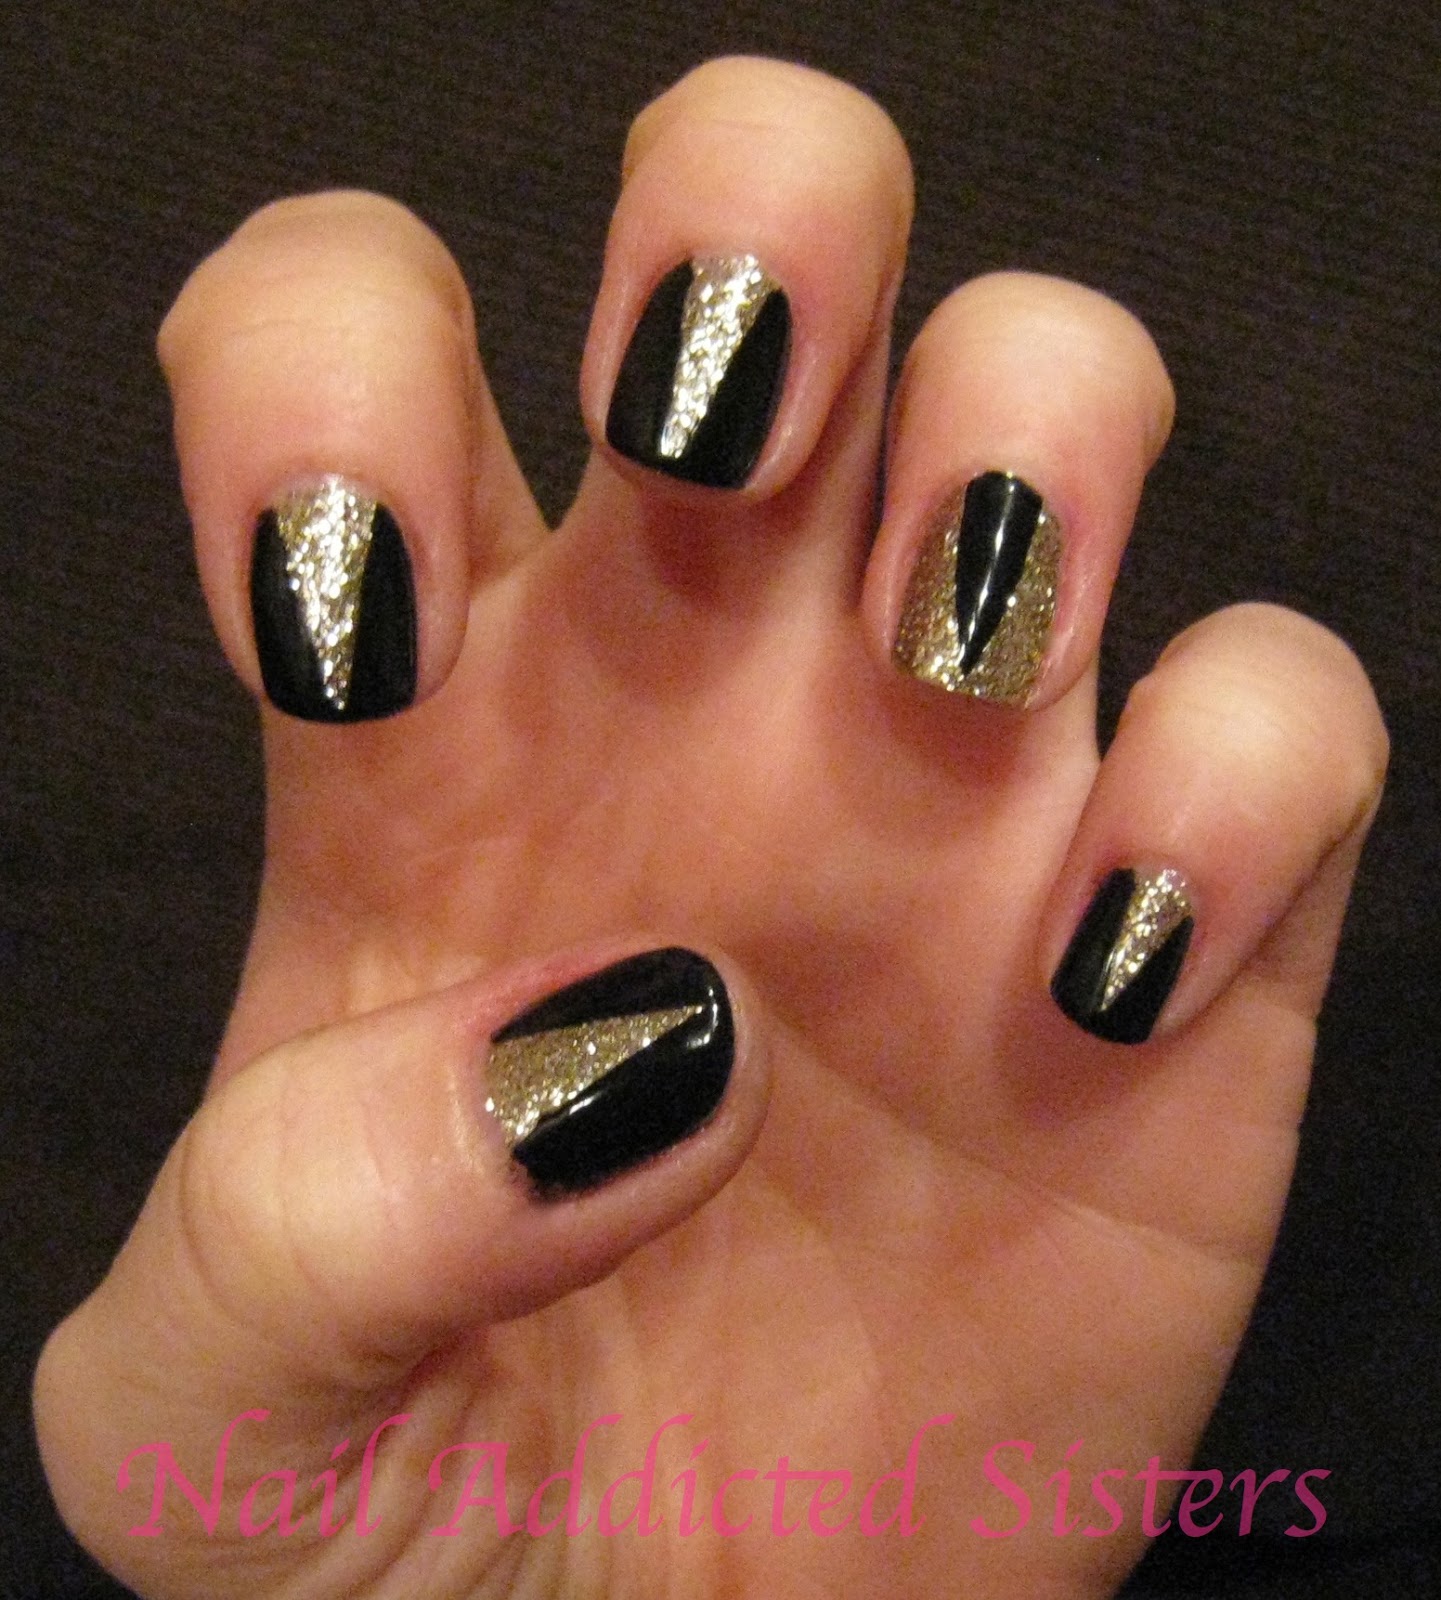
The end result of this color combination blows my mind. Of course pictures never do the real thing justice. I have a party to go to today and I can't wait to show these sparkly babies off!!

I was going add studs to the black area of the accent nail but I thought it may be too much. What to you think? Is less more sometimes??

The best part about using tape is you can do ANYTHING! You can cut it into any shape. Try using scalloped or zig-zag shaped scissors!

No comments:
Post a Comment